The boy wanted a lab coat for his 7th birthday. Since Halloween was long gone, there was little to no hope of finding one in the stores. Being the last minute type that I am, I dug out a kid’s costume pattern, Simplicity 3997. I used the shirt in view A, added length to the sleeves and hem, and placed the buttons lower down on the placket. I also embroidered his name on the pocket, which I should have done before sewing on the pocket, but I was in a hurry and didn’t think of it until I was done. He seemed to like it but as is his way, he tried it on, then promptly took it off and went on his way. I know he will wear it later since he takes awhile to warm up to new things.

Category Archives: kid’s clothing
Allison’s Baptism dress
Posted on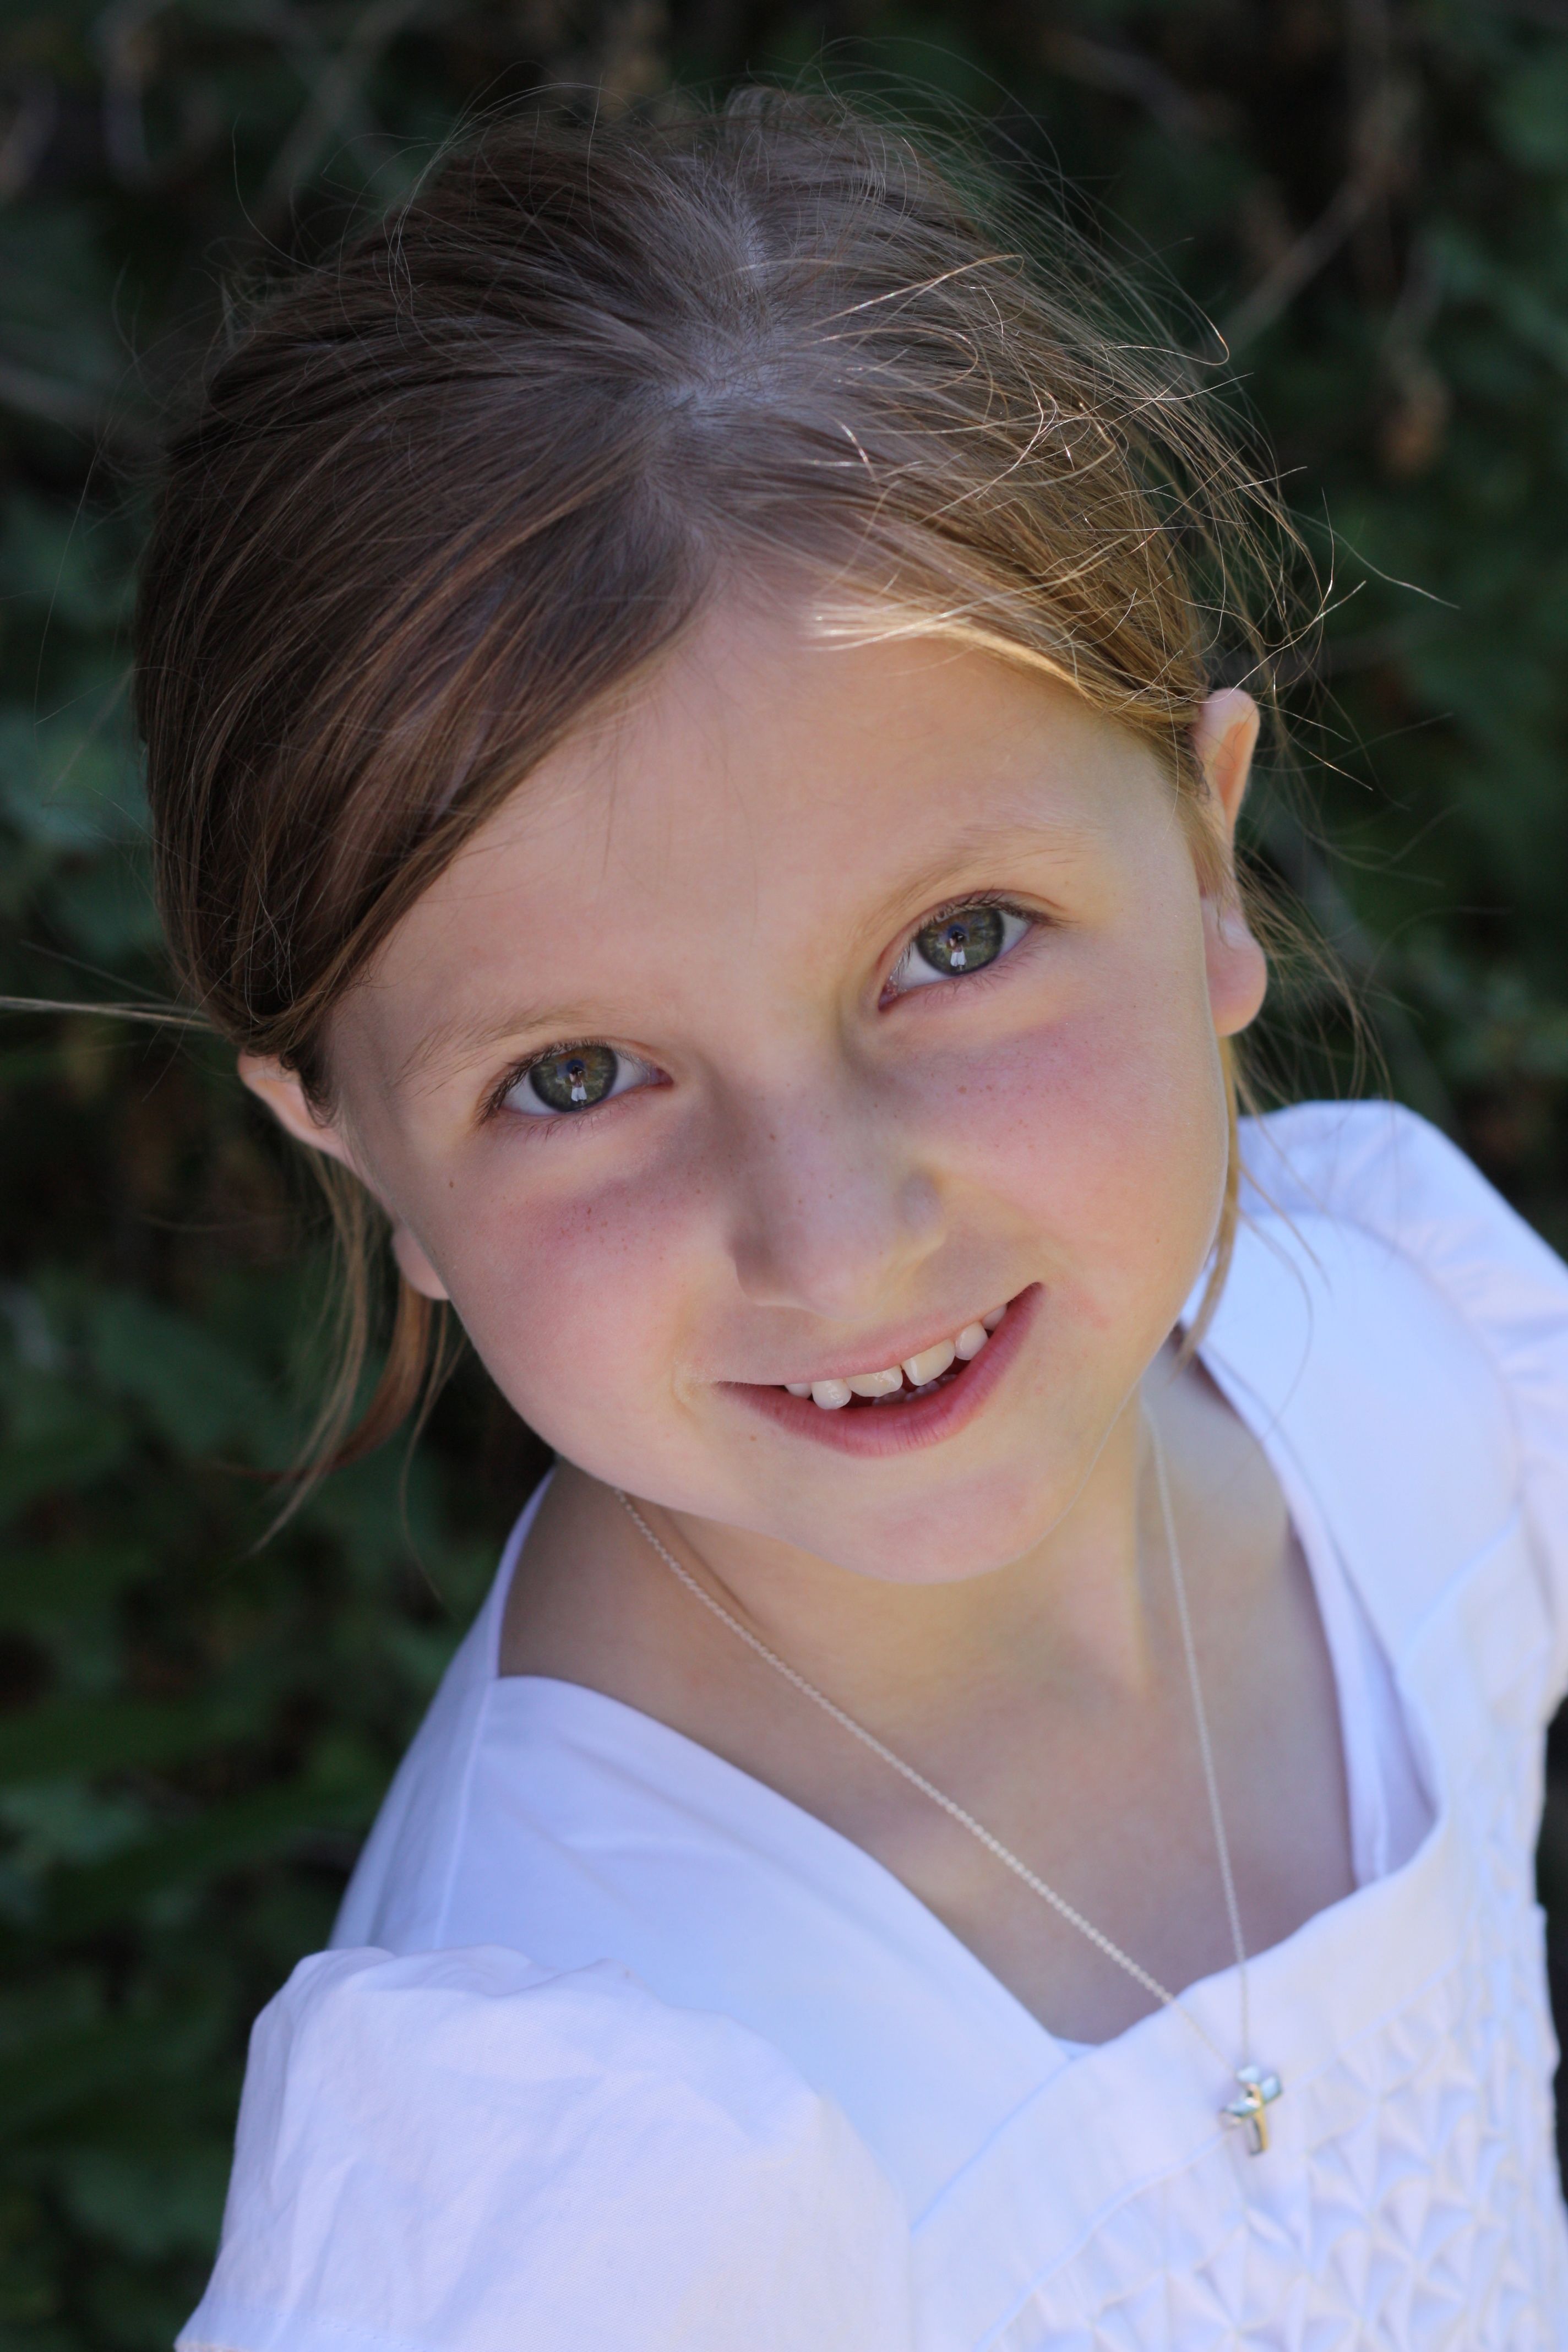
Allison turned 8 and was baptized recently. I used the Oliver + S Garden Party pattern to make her dress. Since the front is already gathered, I wanted to try smocking on the front. I didn’t have a lot of time, or a pleater, so I used honeycomb smocking. I made a size 8 and ended up adding ~10″ to the width of the front panel when I cut it out (I moved the pattern ~5″ from the fold). To do the smocking, I first downloaded some 3/4″ graph paper and used that to transfer the dots using a water soluble marker. Then, following this tutorial, I smocked the front with 3 strands of white embroidery floss. BTW, I loved this video. Her voice is so soothing and I felt like I was sitting in her living room with her teaching me how to smock 🙂 The rest of the dress was really easy to sew up. The only other difficult part was figuring out where to place the front waistband since I didn’t do more than one line of basting there. It came out a little wonky but you can’t tell when she is wearing it. Overall, a very nice pattern and I love the simplicity and details of the design.


4th of July
Posted on


When I found a red, white and blue plaid seersucker at JoAnn’s a while back, I knew I wanted to make the girls’ dresses for the 4th of July. As usual, I procrastinated actually working on them and finished them up around 7pm that night. I also made Ian a pair of shorts from the Oliver + S Sketchbook pattern that he wore on Sunday. The dresses are Fiddlehead’s Beach Party Top extended into a dress. I added almost 4 inches to the length of the pattern, in addition to the ruffle, and it could have been a little longer on Allison. I’m trying to take advantage of the fact that Allison still wants to dress match-matchy with her sister 🙂
Easter 2013
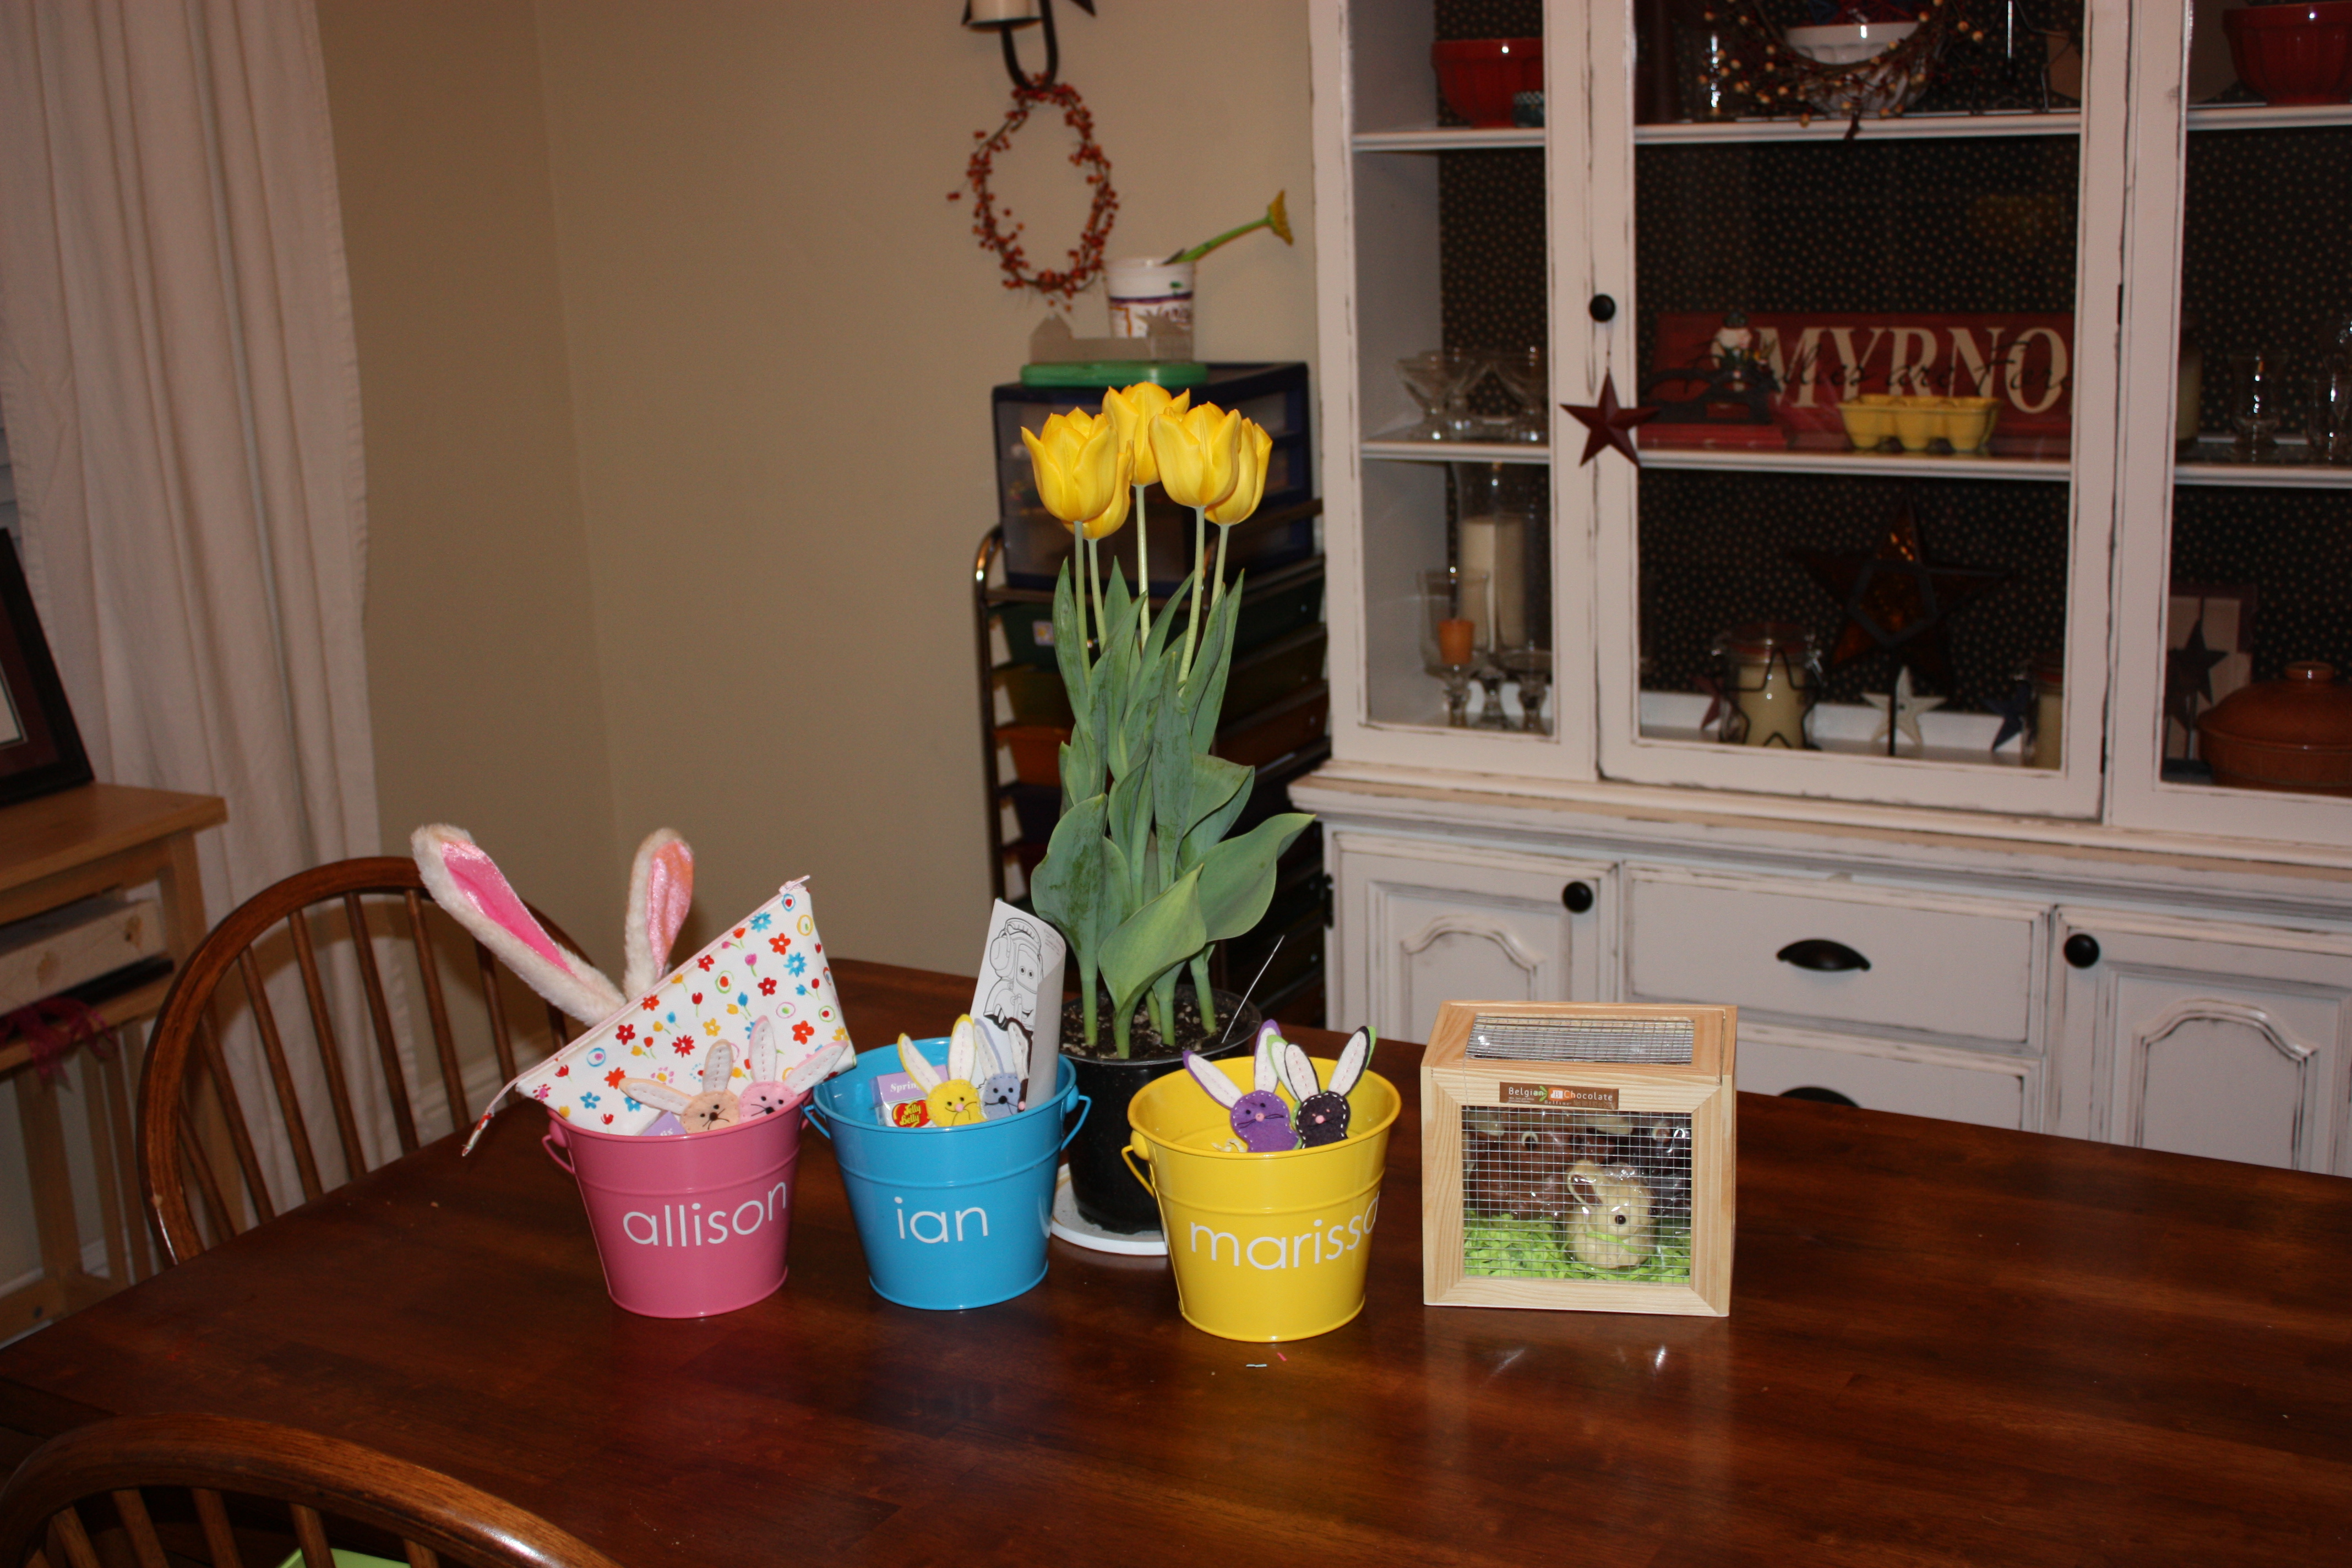
Posted onSince I made such fancy dresses for the girls last year, I decided to go simple this year. And last minute, as usual. Saturday I decided to make them Oliver + S Popover Sundresses. I had a purple seersucker for Marissa and a pink gingham for Allison. Ian’s matching bowtie didn’t happen in time for Easter but I have a new pattern to try out and will make him a few for spring. 
Sadly, this is the best picture I got of them on the way into church on Sunday. Oh well.
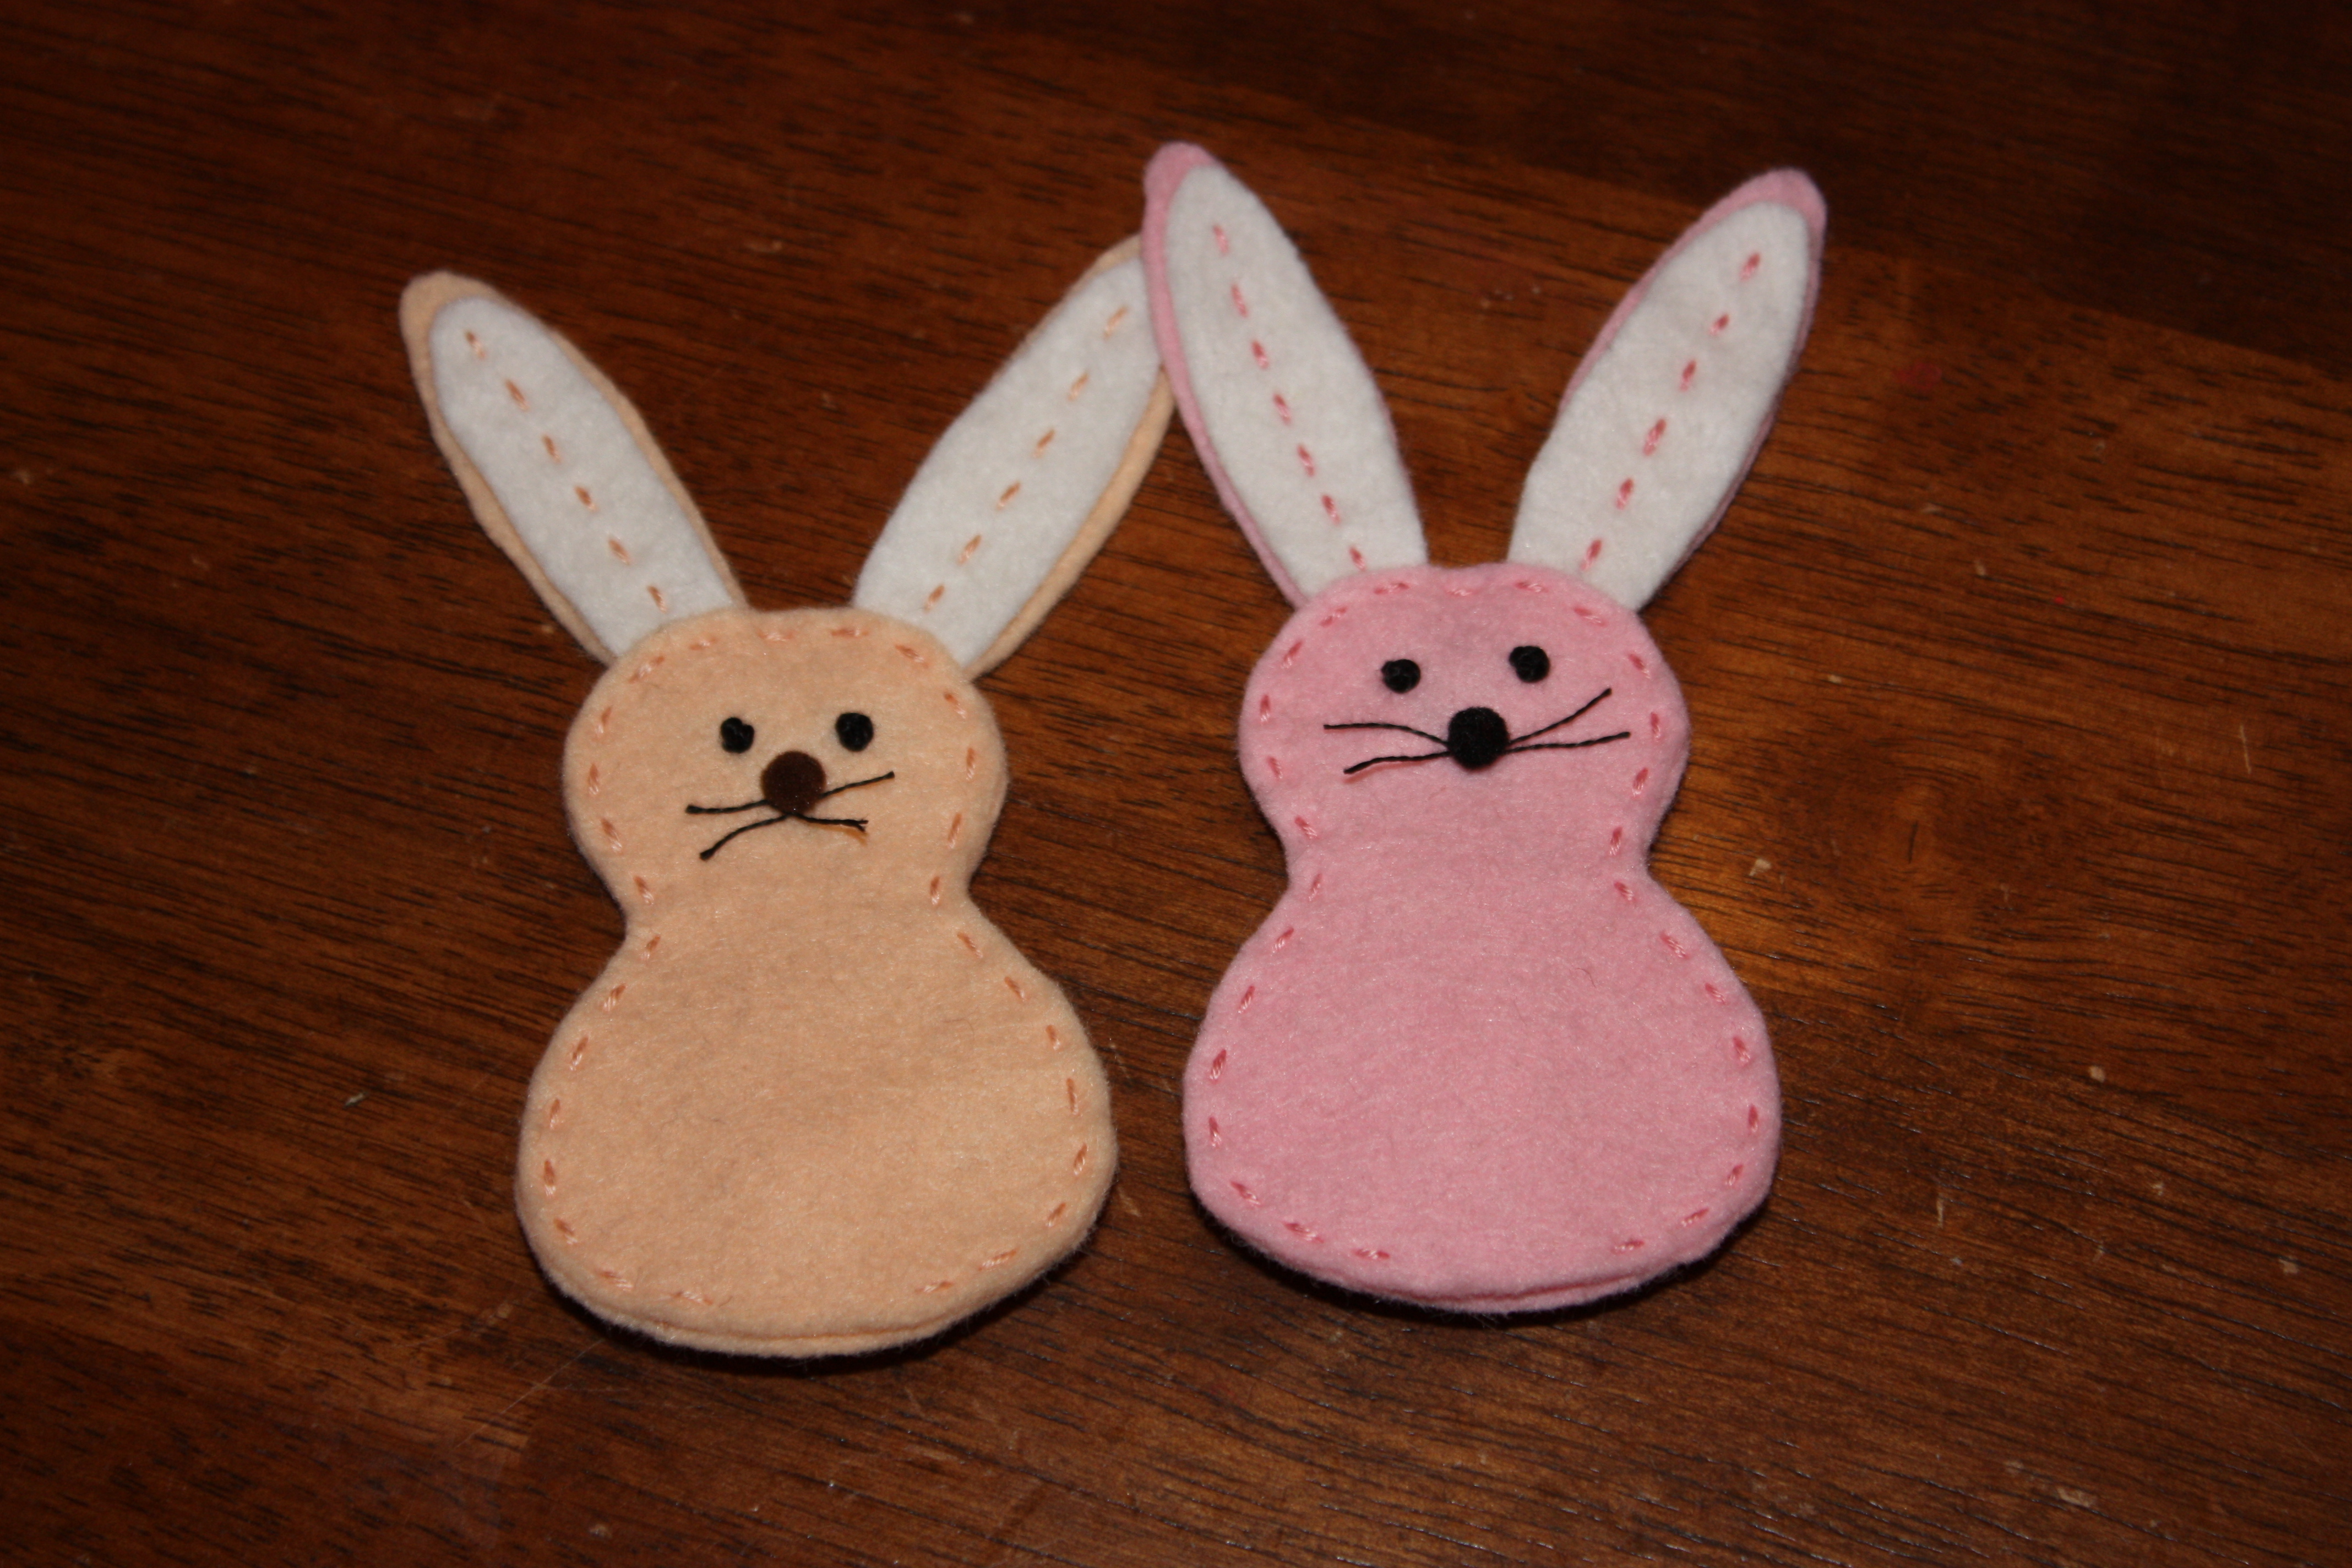
I made little, felt bunny finger puppets for the Easter baskets using this tutorial. I only started these darn things last year and finished them up the night before Easter. I had stitched them instead of using the machine. The kids weren’t super impressed but they really were more for me, anyways 🙂


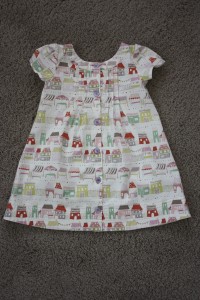
Oliver + S Family Reunion Dress
Posted onI made Marissa a dress from the Oliver + S Family Reunion pattern. It’s a cute pattern and I love the details with the pin tucks on the front and back. I used variegated thread on the pin tucks and top stitching for a fun detail. I didn’t get any pictures of her wearing it, of course. I really appreciate the details that go into these patterns and the instructions are easy to follow. I found this Alexander Henry fabric at JoAnn’s a couple weeks ago which was a lucky find since our Joann’s is in the process of moving and currently has 3 bolts of fabric left. But the good news is we are getting a super Joann’s the middle of April.
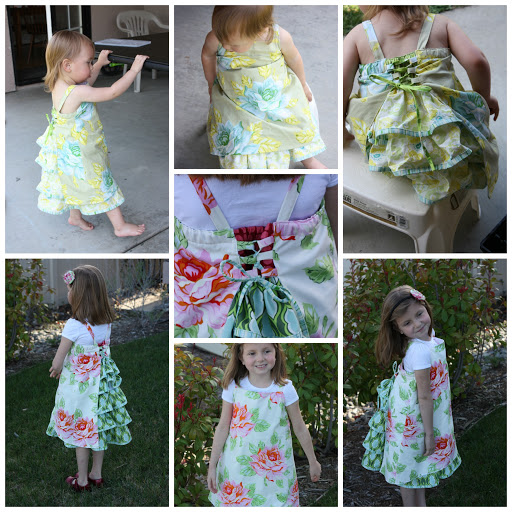
Easter 2012
Posted onI never did post the pictures of the dresses I made for Easter last year. I loved how they turned out! I’m still debating what to do for this year. I’d better decide soon: Easter is coming fast this year.
For last year’s dresses I used another Brynnberlee pattern design- the Lily dress. I tested the pattern in the larger size for Allison’s and bought the smaller size for Marissa. I cut into my beloved stash of Heather Bailey’s Nicey Jane fabrics. My favorite is the blue and yellow flowers on the back of Marissa’s dress. I wish I could get away with wearing so many ruffles and different fabrics!
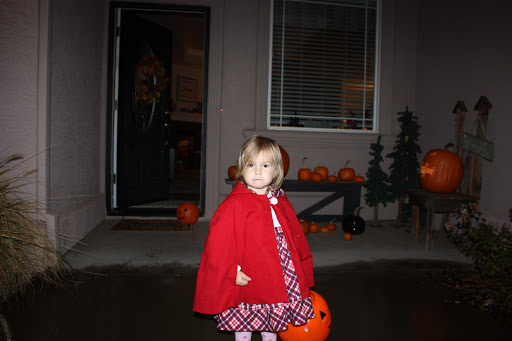
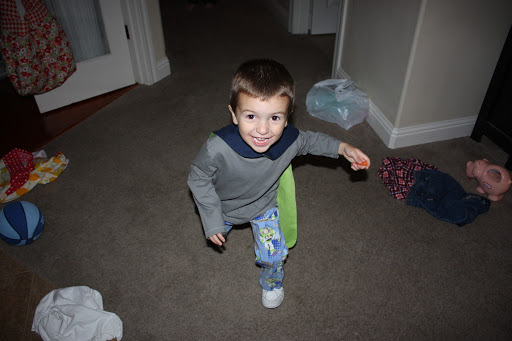
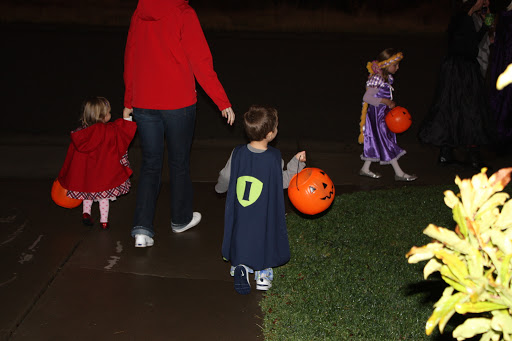
Halloween 2012
Posted onFor Halloween, I made:
Rapunzel
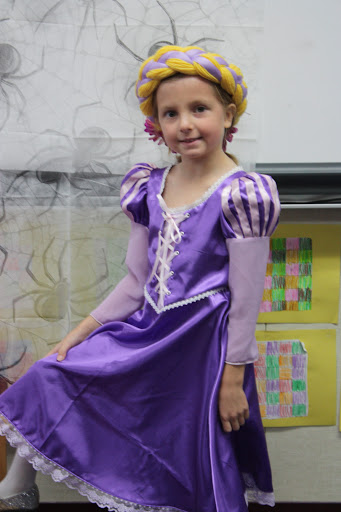
Little Red Riding Hood
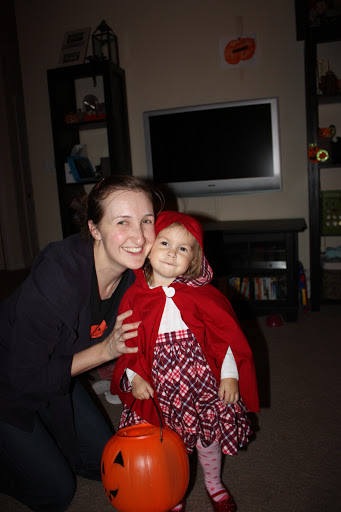
and Super I
Some Recent Sewing
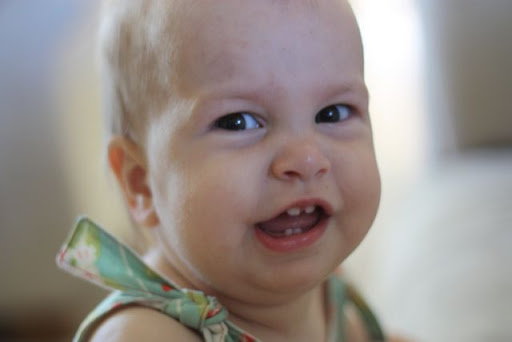
Posted onContrary to what it may seem on this blog, I have actually been sewing and crafting. It just seems that nothing gets photographed in a timely manner. First up, I was a pattern tester for Brynnberlee Designs. I made the Kimberly dress using the Strawberry Fields fabric I’ve been hoarding. I think it turned out well and a lady at church even thought it was something from Gap Kids 🙂 So that’s a success in my book- not looking homemade. A very cute pattern and easy since there aren’t any zippers or buttons to deal with.
I didn’t get that great of pictures since M was just getting over Roseola and wasn’t in the best of moods. As evidenced here:
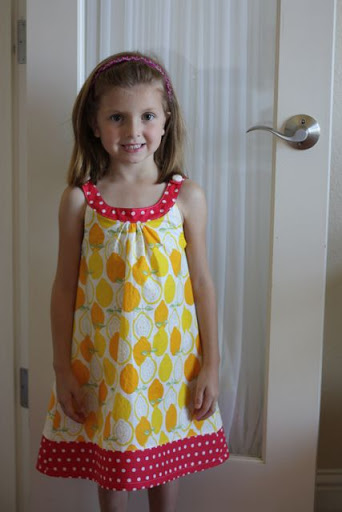
Next up was a dress to match M’s dress for family pictures. I call it the Pink Lemonade dress. I knew I couldn’t get away with just a yellow dress so I added the contrasting pink. The pattern is a modified version of Prudent Baby’s Snappy Toddler Top. I wish I had made the top bands a little wider but I think it came out pretty good. I enlarged the pattern by hand and cleaned it up a little since it wasn’t symmetrical (which drives me nuts). A usually wears a 5T so I added 1 inch to the width of the top itself and about that to the front and back bands. Now I need to figure out matching hairpieces.
Hannah Dress
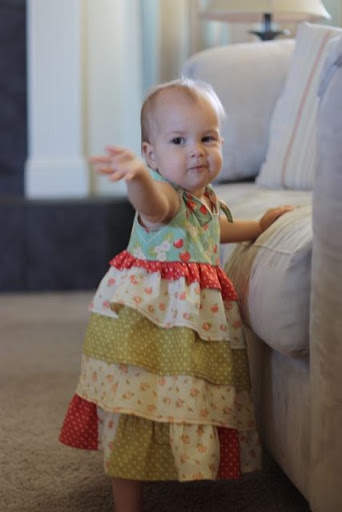
Posted onI found this cute Etsy shop, Yeppar, through a giveaway and just had to have the Hannah dress pattern. I made it up in the 12m size for baby M.
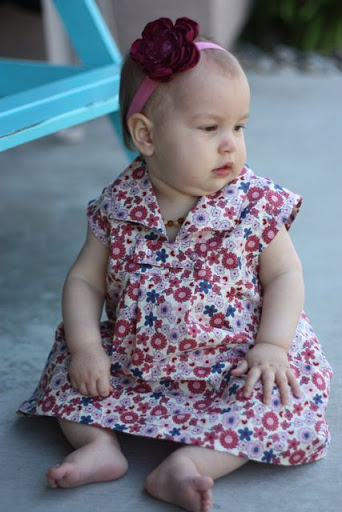
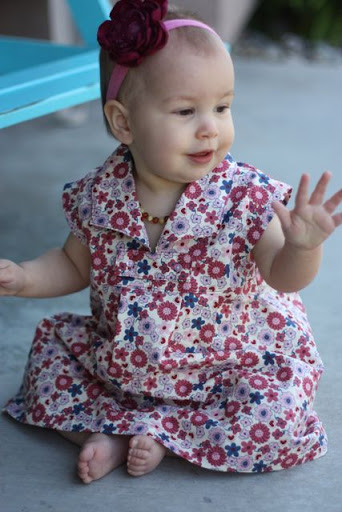
It came together fairly quickly. There were just a few minor issues with the pattern and instructions but overall I loved the way the collar turns out. I just used some random fabric from my stash since I didn’t want to cut into the good stuff on an unproven pattern. But now I will make M at least one more of these. The pattern goes up to a 5T so I can even make one for A.
Here are some of the edits and things I will do differently next time. For one, the pattern doesn’t have seam allowances. I will cut the actual pattern out with these allowances instead of waiting to add them when I cut out the fabric. Another issue was with the collar. The instructions say to finish the edge of the collar by folding under 1/2″, then another 1/2″. This should be 1/4″ then another 1/4″. A full inch and you can’t sew down the back inside of the collar to the back of the dress. I will probably finish the underarm of the dress a little differently next time, too. I didn’t like how there was a seam floating in the middle of the dress. So I followed the directions but made my seam connect to the sleeve edge seam. I’m not really sure what I’ll do next time, but I’ll have to think about it. I also constructed the little button closure a little differently. I folded in 1/2″ on either short side, then sewed right sides together down the long side, turned right side out, then top stitched. The way outlined in the directions turned out too sloppy for me. Oh yeah, I also made a 2T length on the 12m size. The original was just a little too short for my taste. It would make a very cute shirt, though.
All in all a very cute pattern and fairly easy to construct. Easy to get on and off, too. No elastic, zipper or buttons in the back to worry about.
Happy Easter!
Posted on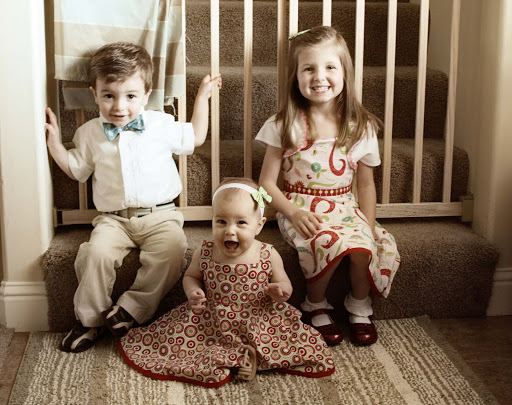
So, it’s been awhile 🙂 As usual, I’ve gone more than a month without blogging. I’ve been busy- I made the girls’ Easter dresses as well as a bow tie for Ian. I also messed up the rotary hook on my machine and had to wait almost a week for the replacement part to arrive. And I officially hate making clothes for me. I scrapped the dress I was making for me. Usually with a commercial pattern, I go down at least one, maybe two sizes from what the measurements say. This time, I did that and made a muslin of the bodice, nope, didn’t fit. The next size up, still no. So I just went with the size the measurements indicated. As I expected, the waist fit but it was huge in the bust and under the arms. I just don’t get it. To top it off, the waist pieces didn’t even fit together the way they should have. I should have just saved the money and bought a dress from one of those places like Shabby Apple. Oh well.