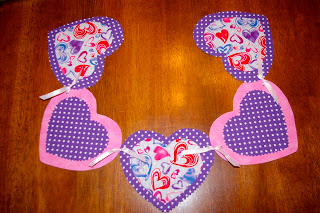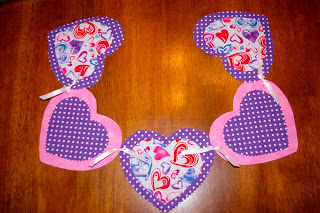
 We made these garlands for YW two years ago. They were fairly easy, no sewing required. I saw the idea in the Feb ’08 issue of Better Homes and Gardens. There weren’t any specific instructions, so this is what I came up with. The garland is approximately 26″ long, with each heart 5 1/2″ wide. It’s kind of hard to get the scale from the picture.
Materials:
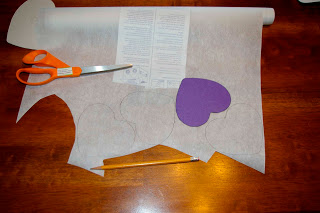
Heart template printed from
here ***(I increased the biggest and next biggest hearts by about 1″ in Word. You can leave it the print out size, or increase it to however big you want) Trace the two biggest onto cardboard to make sturdy templates.***
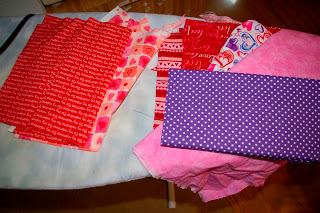
Two, or more, various valentines fabric prints (cotton or can use felt)
Decor Bond or WonderUnder (fuses fabric to other fabric)
Heavy interfacing (just one sided bonding)
Ribbon
Iron and ironing board
Hole punch
Start by tracing the largest heart (5 1/2″ wide with my enlargements) template onto the heavy interfacing (for stiffening the base fabrics). For my garland I made 5. You can make more or less depending on how long you want the garland. Roughly cut out hearts and iron the shiny side of interfacing onto the wrong side of base fabrics. I used two different fabrics for the big hearts.
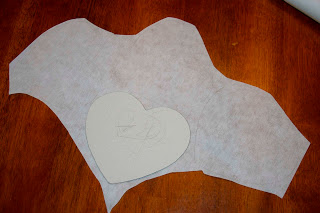
Next, trace the next largest heart (4″after enlargement) onto paper side of the double sided fusible web. Roughly cut out shapes and iron the non paper side onto the wrong side of contrast fabrics.
At this point, play around with the layout of your hearts. Put the smaller heart on top of the larger one.
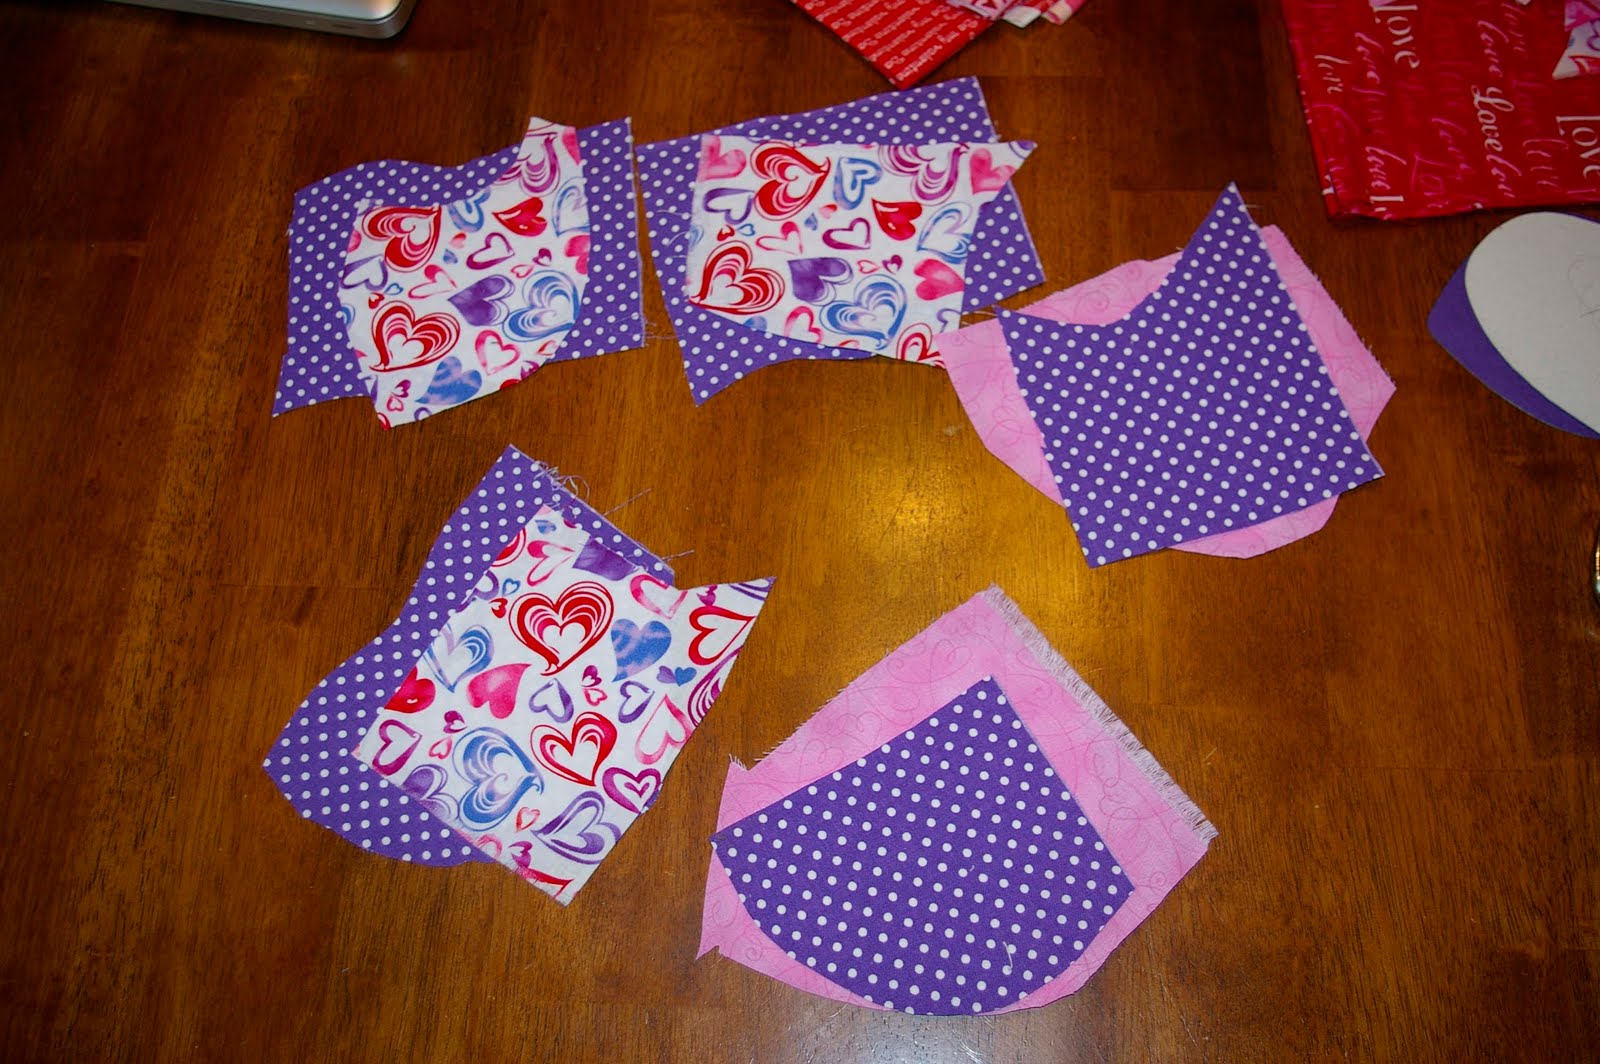
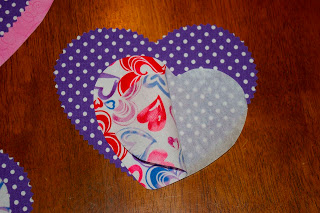
Trim the hearts to the interfacing shape. The reason I waited was because I pinked the edges of some but not others with pinking shears. When you like the layout, take each set of two to the ironing board. Peel the paper backing off the small heart, center it on the large heart and fuse according to the directions.
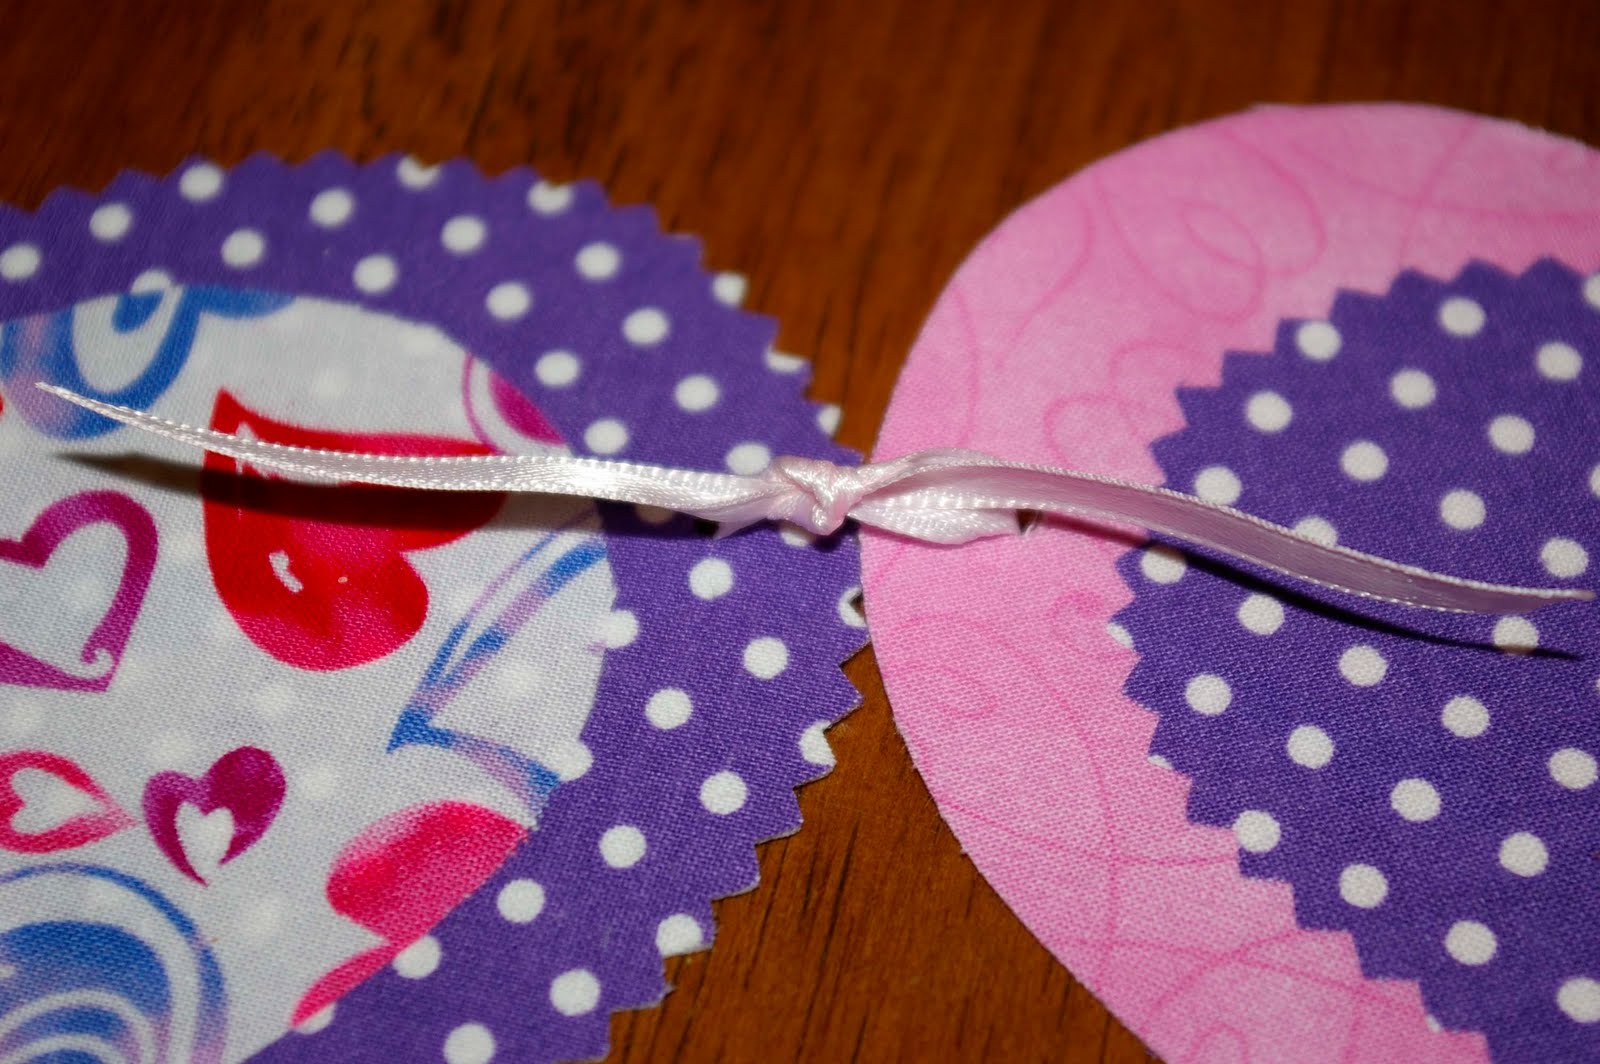
Now you can string the hearts together into a garland, use to decorate a wreath, or give as valentine’s cards. To make a garland, use a hole punch (I think mine was 1/4″) to punch through the outer edges of the heart at the widest point. Use your first punched heart as a template to put the holes in the same spot on each one.
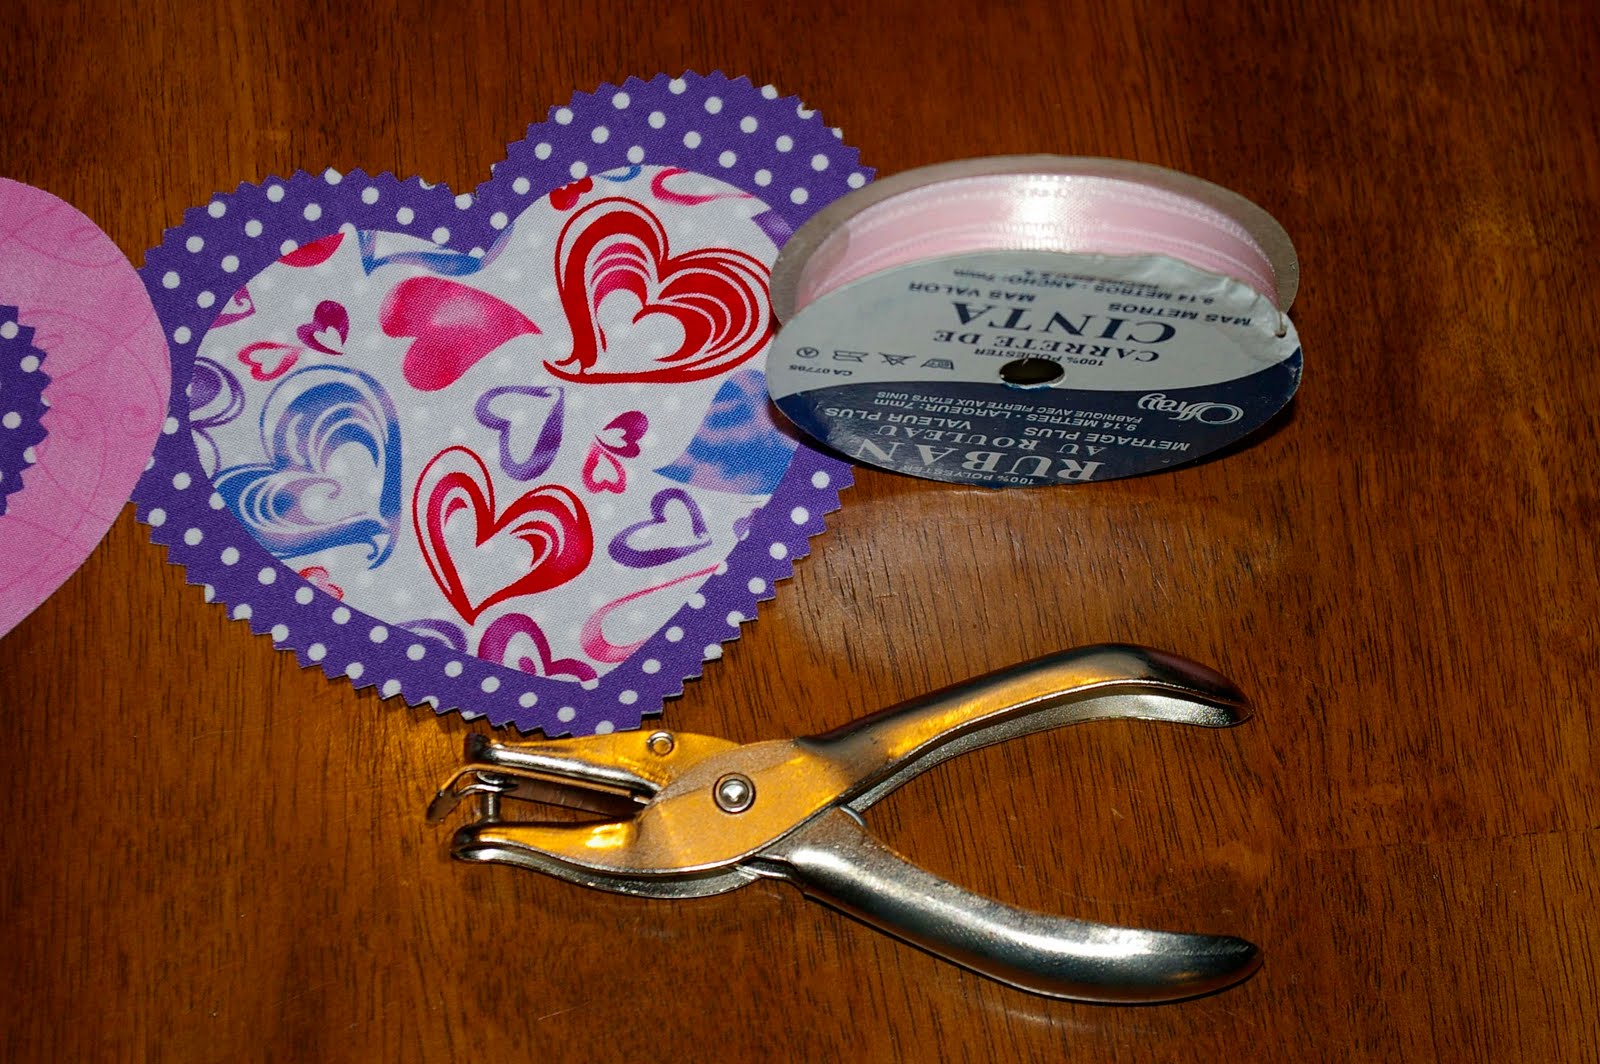
Cut a length of ribbon approximately 5″ long, depending on how much space you want between each heart. Heat seal or Fray-Check the ends, if desired. Then string ribbon through the holes and tie, leaving as much space as desired between hearts.
Add long lengths of ribbon to the ends to be able to hang it.
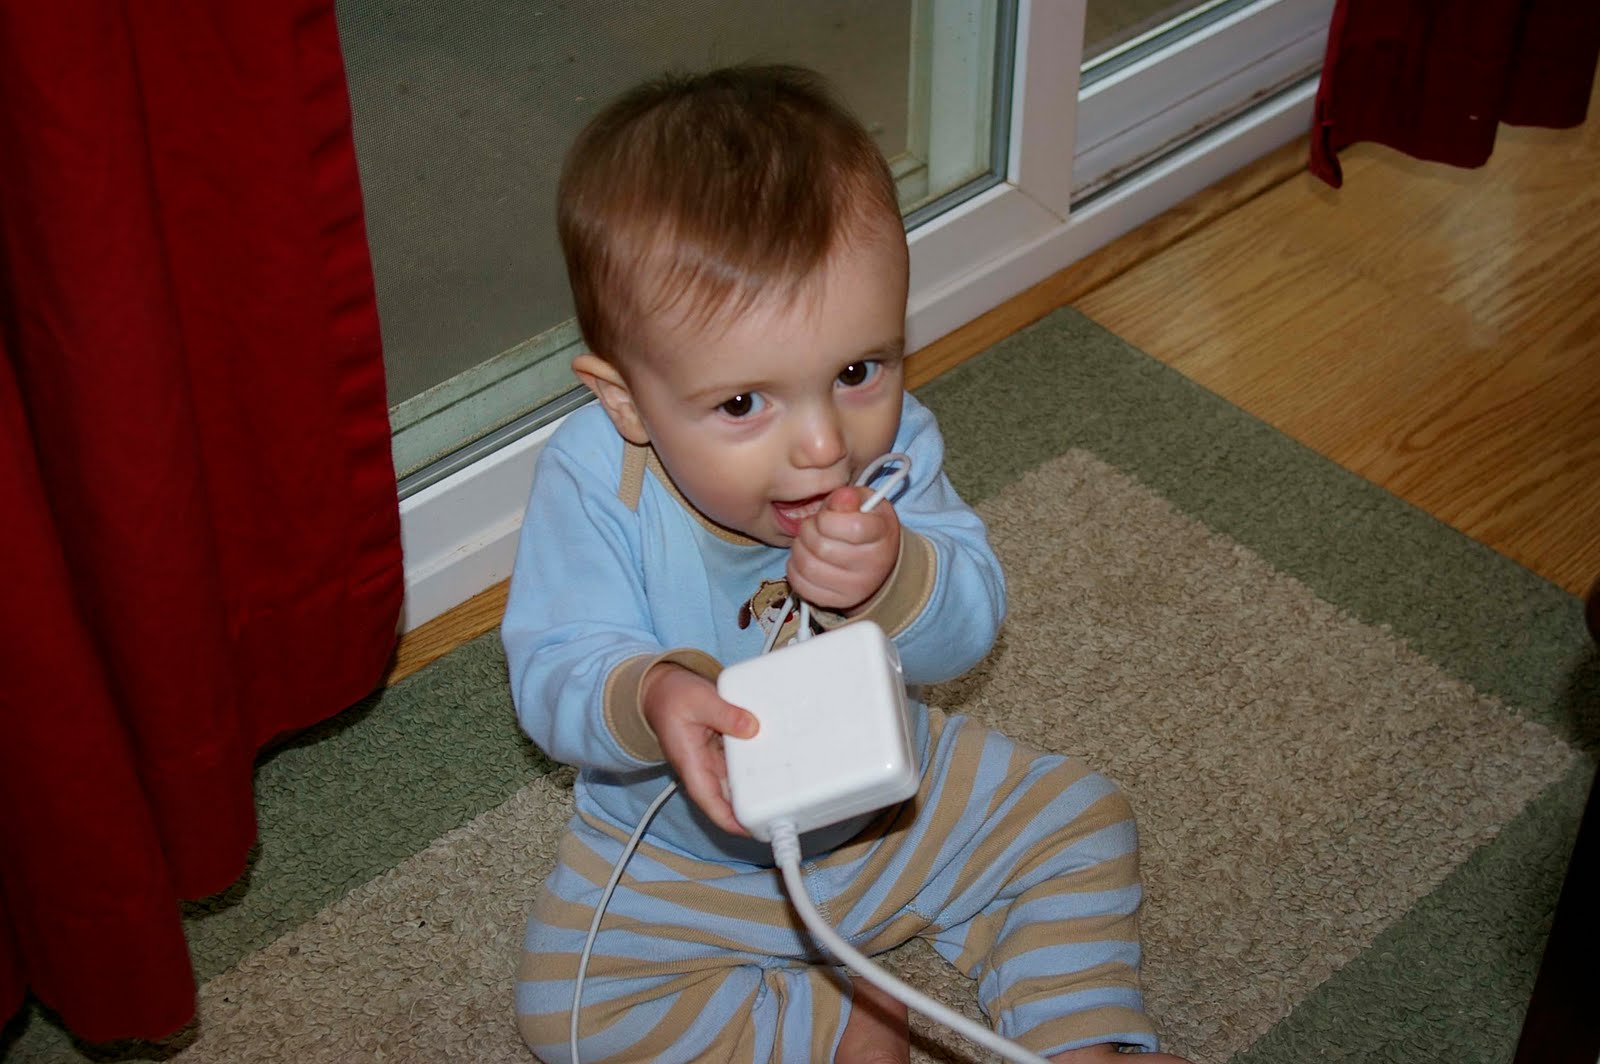
All in all, not too long of a project. Probably about an hour form start to finish. Unless, of course, you have one of these running around 🙂


 We made these garlands for YW two years ago. They were fairly easy, no sewing required. I saw the idea in the Feb ’08 issue of Better Homes and Gardens. There weren’t any specific instructions, so this is what I came up with. The garland is approximately 26″ long, with each heart 5 1/2″ wide. It’s kind of hard to get the scale from the picture.